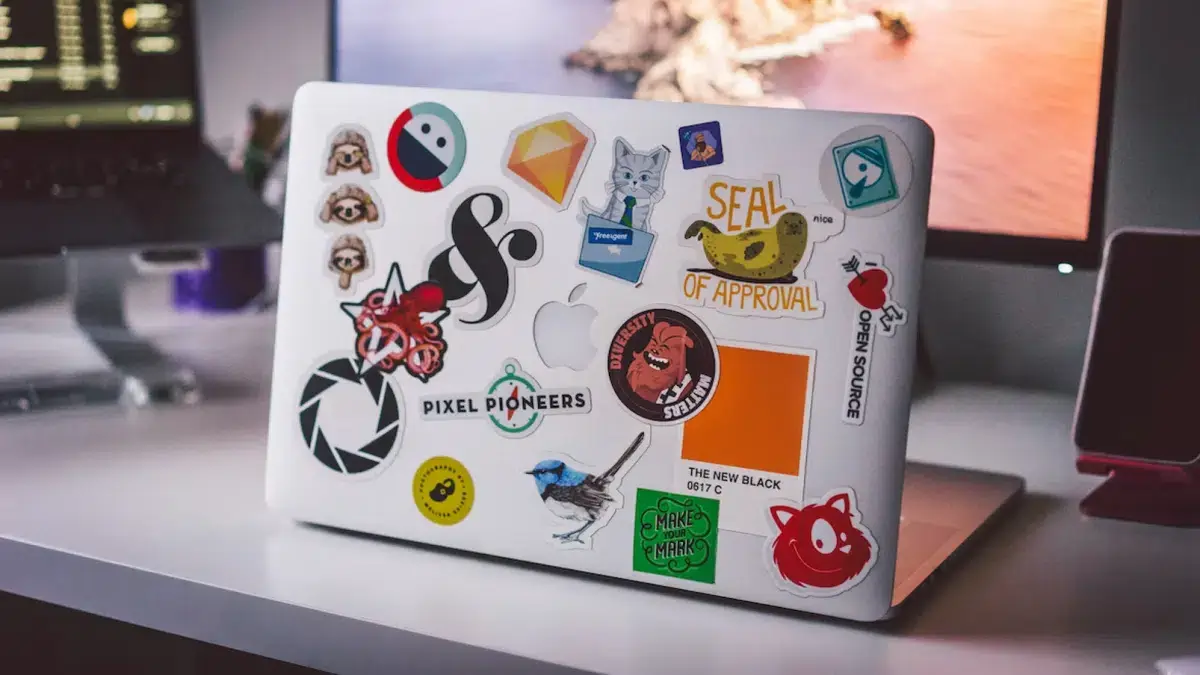
How to Apply Stickers to Your Laptop Like a Pro
In the world of technology, personalizing your laptop is not only a trend but also a way to make a statement. One of the most popular ways to add a touch of individuality to your device is by applying stickers. Whether you’re an artist, a gamer, or want to add some flair to your laptop, stickers provide an excellent means of self-expression.
However, putting stickers on your laptop requires some finesse to ensure you don’t damage your device or hinder its performance. In this comprehensive guide, we’ll walk you through the process of applying stickers to your laptop.
Universal Laptop Skin Installation
1. Selecting the Right Stickers:
Before diving into the sticker application process, it’s crucial to choose stickers that resonate with your style and interests. Your laptop’s appearance should reflect your personality, whether that’s through vibrant designs, artwork, or branding stickers. Here are some key considerations:
Understand Your Style and Interests: Think about what you want your laptop to convey. Are you a fan of minimalistic designs, pop culture references, or nature-themed stickers? Your personal taste will guide your sticker selection.
Consider Laptop Compatibility: Some laptops have textured surfaces, making it challenging for stickers to adhere to. Ensure your chosen stickers are suitable for the type of laptop you have.
Quality Matters: Durable vs. Low-Quality Stickers: Invest in high-quality stickers. Cheap, low-quality stickers may fade, lose adhesiveness, or leave a sticky residue that’s difficult to remove.
Recommended: Best Laptops for Streaming Video
2. Preparation and Cleaning:
Now that you’ve chosen the perfect stickers for your laptop, it’s time to prepare your workspace and the laptop’s surface.
Gather the Necessary Supplies: You’ll need the stickers, a microfiber cloth, isopropyl alcohol, and a credit card or squeegee for smoothing out the stickers.
Clean Your Laptop’s Surface: Before applying any stickers, clean the laptop’s surface thoroughly using isopropyl alcohol and the microfiber cloth. This step ensures that the stickers adhere well and stay in place.
3. Placement and Alignment:
Precision is key when placing your stickers on the laptop. Consider the following tips:
Mind the Ergonomics: Place the stickers where they won’t interfere with your hand movements or cover essential parts like the keyboard or touchpad.
Be Mindful of Ports and Openings: Ensure stickers don’t block important ports, vents, or openings for cooling and connectivity.
4. Applying the Stickers:
Now, it’s time to apply the stickers.
The Peel-and-Stick Method:
- Carefully peel off the backing of the sticker.
- Align it with your chosen spot on the laptop.
- Press it down gently.
Using a credit card or squeegee, smooth out any air bubbles, working from the center outwards.
Avoiding Air Bubbles: To achieve a bubble-free application, work slowly and methodically, smoothing out any air bubbles as you go. If you notice a stubborn bubble, gently lift the sticker and reapply it.
5. Securing and Protecting the Stickers:
To protect your stickers and ensure they last, consider these steps:
Using a Clear Laptop Skin: Applying a clear laptop skin over your stickers can provide an extra layer of protection against scratches, wear, and fading.
Adding a Protective Layer: For long-lasting durability, consider a clear, adhesive laminate sheet to protect the stickers from wear and tear.
6. Removing Stickers:
If you ever decide to remove your stickers, do so carefully.
Gentle Removal Techniques: To avoid leaving adhesive residue, use a hairdryer or a mixture of warm water and mild soap to loosen the stickers. Gently peel them off and clean any remaining residue with isopropyl alcohol.
FAQs about Applying Stickers to Laptops:
Q: Can stickers damage my laptop’s surface?
A: High-quality stickers typically don’t damage your laptop’s surface. To be safe, always choose stickers with a non-aggressive adhesive and apply them to a clean and dry surface.
Q: How do I prevent air bubbles when applying stickers?
A: To prevent air bubbles, work slowly and use a credit card or squeegee to smooth out the stickers from the center outwards. If a bubble appears, gently lift the sticker and reapply it.
Q: What’s the best way to remove stickers without leaving residue?
A: To remove stickers without leaving residue, use a hairdryer or warm, soapy water to loosen the adhesive. Gently peel off the stickers and clean any residue with isopropyl alcohol.
In conclusion, personalizing your laptop with stickers is a fun and creative way to express yourself. By following these steps and guidelines, you can ensure that your laptop’s exterior reflects your personality and interests while keeping your device safe and looking great. Enjoy the process of making your laptop truly yours with the power of stickers.

- OTT Platform: What is OTT Full Form, Meaning, Popular OTT Platforms, and More - July 6, 2024
- Mastering the Art of Knife Throwing in MM2 on Your Laptop - June 1, 2024
- How to Screen Record on Acer Laptop? - June 1, 2024