How to Open Inspect Element on Chromebook [2023 Guide]
Inspect Element is a developer tool in Google Chrome that allows users to see and modify the HTML and CSS code behind a website. This can be useful for troubleshooting, testing, or customizing web pages. Chromebooks, being laptops that run on Chrome OS, also have access to the Inspect Element feature.
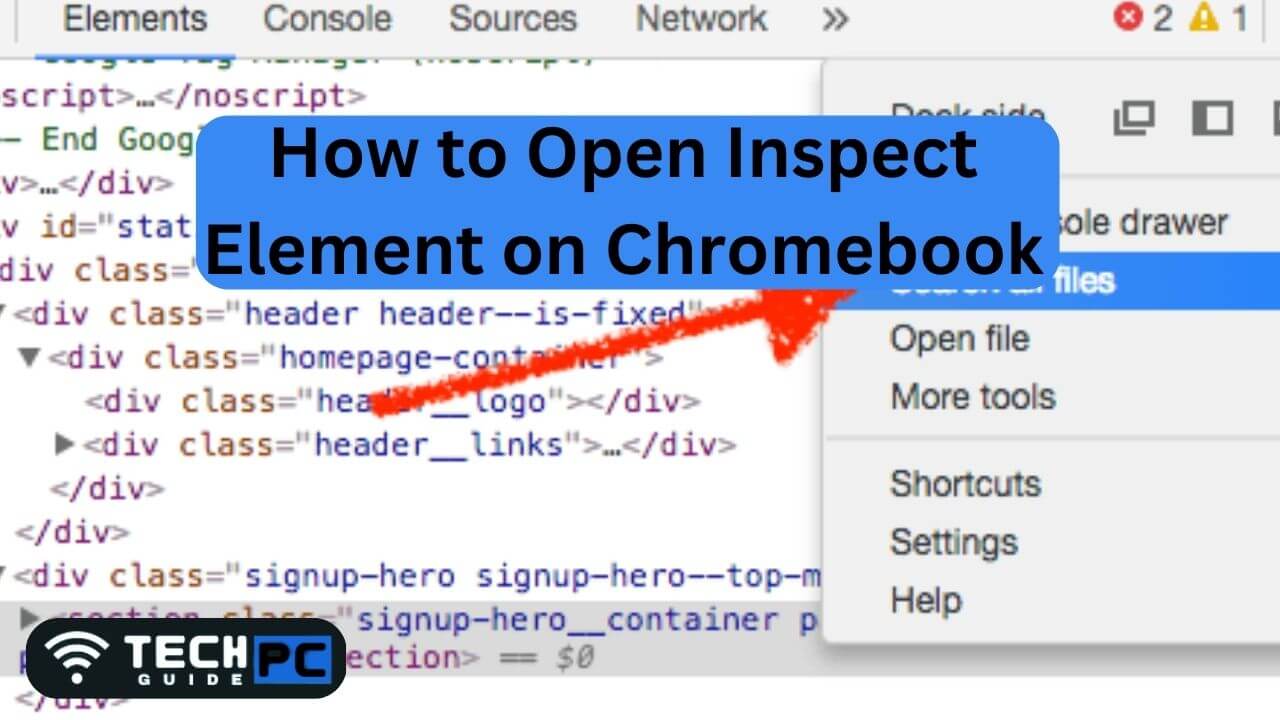
How to Open Inspect Element on Chromebook Guide
- Load the web page you want to inspect in Google Chrome.
- Right-click anywhere on the page.
- Select “Inspect” from the context menu.
- The Developer Tools window will open, displaying the HTML and CSS code for the page.
- To close the Developer Tools window, click the “X” in the top-right corner of the window.
Recommended : How to Run Boot Scan in Avast
How to Open Inspect Element on Chromebook FAQs
What is Inspect Element in Chrome?
Inspect Element is a developer tool in Google Chrome that allows you to see and modify the HTML and CSS code behind a website.
How do I use Inspect Element on a Chromebook?
To use Inspect Element on a Chromebook, right-click on a web page, select “Inspect” from the context menu, and the Developer Tools window will open.
What can I do with Inspect Element?
With Inspect Element, you can see the HTML and CSS code behind a website, make changes to the code, and see the changes reflected in real-time on the web page.
Is Inspect Element available on other browsers besides Google Chrome?
Yes, Inspect Element is also available in other browsers such as Mozilla Firefox and Microsoft Edge.
Can I use Inspect Element on websites that block inspection?
No, some websites have security measures in place to prevent inspection of their code. In these cases, you will not be able to use Inspect Element on those websites.

- OTT Platform: What is OTT Full Form, Meaning, Popular OTT Platforms, and More - July 6, 2024
- Mastering the Art of Knife Throwing in MM2 on Your Laptop - June 1, 2024
- How to Screen Record on Acer Laptop? - June 1, 2024