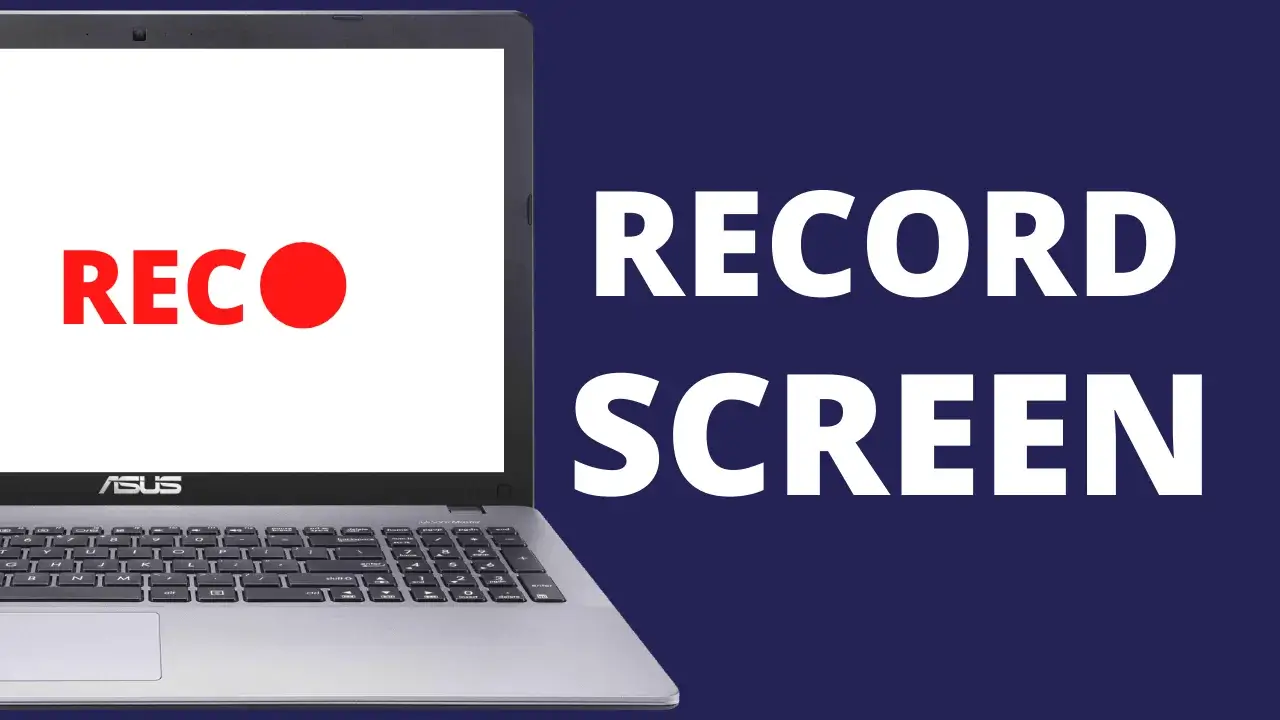
How to Screen Record on Your ASUS Laptop: A Comprehensive Guide
In the modern digital age, screen recording has become an invaluable tool for a multitude of purposes, be it creating educational content, capturing important moments in a video game, or simply sharing your computer screen with others.
If you’re the proud owner of an ASUS laptop and wondering how to harness this powerful capability, you’ve come to the right place. In this guide, we will walk you through the steps to screen record on your ASUS laptop, ensuring you capture every pixel of your display with ease.
Why Screen Recording on ASUS Laptop is Essential:
Benefits of Screen Recording: Screen recording on your ASUS laptop offers a myriad of benefits. It allows you to create video tutorials, record webinars, capture gameplay, or simply demonstrate tasks and troubleshoot problems. It’s a versatile tool for educators, gamers, professionals, and anyone who wants to share their computer screen with precision.
Recommended: How to Screen Record on Your Dell Laptop
Common Use Cases:
- Creating video tutorials for online courses.
- Recording gameplay to share on streaming platforms.
- Demonstrating software or troubleshooting steps.
- Capturing webinars or conference calls.
- Archiving online content for offline viewing.
Preparing Your ASUS Laptop:
System Requirements: Before you start screen recording, make sure your ASUS laptop meets the minimum system requirements. You’ll need a reasonably fast processor, ample RAM, and sufficient storage space. A dedicated graphics card can also enhance the recording quality.
Software Options: There are several screen recording software options available for ASUS laptops, each with its unique features. Some popular choices include OBS Studio, ShareX, and Bandicam. Choose the one that best fits your needs.
Recommended: Best Laptops for Photo Editing
How to Screen Record on Your ASUS Laptop:
Step 1: Choosing the Right Software:
- Download and install your chosen screen recording software.
- Familiarize yourself with its user interface and features.
Step 2: Setting Up Your Recording:
- Configure the recording settings, such as resolution, frame rate, and file format.
- Choose whether to record the full screen or a specific region.
Step 3: Recording Your Screen:
- Start the recording process.
- Carry out the actions you want to capture on your screen.
Step 4: Stopping and Saving Your Recording:
- Click the ‘Stop’ button when you’re done.
- Save your recording to your preferred location.
Advanced Features and Customization:
Audio Capture: Most screen recording software allows you to capture both system audio and your microphone. Adjust audio settings to ensure clear and balanced sound.
Webcam Overlay: If you want to add a personal touch to your recordings, consider enabling the webcam overlay, which records your face while screen recording.
Annotation Tools: Some software options provide annotation tools for marking up your recordings with text, shapes, and highlights.
Editing Options: After recording, you can edit your video to remove any unwanted content, add transitions, or include captions.
Related: Best Laptop for Video Editing
Best Practices for Screen Recording on ASUS Laptop:
Optimizing Settings: Experiment with recording settings to achieve the best balance between video quality and file size. Higher resolutions and frame rates can lead to larger files.
Storage and File Management: Be mindful of your laptop’s storage space. Regularly transfer or delete recordings to keep your device running smoothly.
Troubleshooting Common Issues:
Audio Problems: If you encounter audio issues, ensure that your microphone and system audio are properly configured within the recording software.
Recording Lag: Recording software can sometimes cause lag. Adjust settings or consider upgrading your hardware if you experience performance issues.
Software Crashes: Update your recording software to the latest version to resolve potential crashes and bugs.
Frequently Asked Questions (FAQs):
Q: What is the best screen recording software for ASUS laptops?
A: The best software depends on your specific needs. OBS Studio, ShareX, and Bandicam are popular choices.
Q: How can I record my laptop screen without downloading any software?
A: You can use built-in screen recording features on some operating systems, like Windows 10 and macOS. Alternatively, some online tools offer browser-based recording.
Q: Can I record both the screen and the webcam simultaneously?
A: Yes, many screen recording software options allow you to record your screen and webcam simultaneously.
Q: Is there a time limit for screen recording on ASUS laptops?
A: The time limit for screen recording depends on your software and hardware, but many applications allow for unlimited recording or recordings of several hours.
Q: How much storage space do screen recordings typically require?
A: The storage space required varies based on settings, but a 10-minute recording at 1080p can consume approximately 1-2 GB of storage.
In conclusion, screen recording on your ASUS laptop is a versatile tool that can be used for various purposes. By following the steps outlined in this guide and making use of the available software options, you’ll be well-equipped to capture, share, and create content with ease. Whether you’re an educator, gamer, or professional, screen recording on your ASUS laptop empowers you to convey your message effectively.

- OTT Platform: What is OTT Full Form, Meaning, Popular OTT Platforms, and More - July 6, 2024
- Mastering the Art of Knife Throwing in MM2 on Your Laptop - June 1, 2024
- How to Screen Record on Acer Laptop? - June 1, 2024